
How to Repair Ceramics at Home
Do you have a broken ceramic item that you just can't bear to part with? Maybe it's a sentimental piece or an expensive one that you don't want to replace. Whatever the reason, there is good news: you can repair ceramics at home! With a few simple tools and some know-how, you can fix cracks, chips, and breaks in your ceramic items and make them look as good as new. In this article, we will guide you through the steps to repair ceramics at home.
Tools and Materials
Before you start repairing your ceramics, you need to gather a few tools and materials. Here's what you'll need:
- Ceramic adhesive
- Paintbrush
- Emery board or sandpaper
- Cotton swabs
- Acetone or rubbing alcohol
- Cotton balls
How to Repair Cracks
If you have a crack in your ceramic item, you can repair it using ceramic adhesive. Here are the steps:
- Clean the area around the crack with acetone or rubbing alcohol and a cotton ball.
- Apply a small amount of ceramic adhesive to the crack, using a paintbrush.
- Hold the crack together until the adhesive dries, which usually takes about 24 hours.
- If the crack is still visible, use an emery board or sandpaper to smooth the surface.
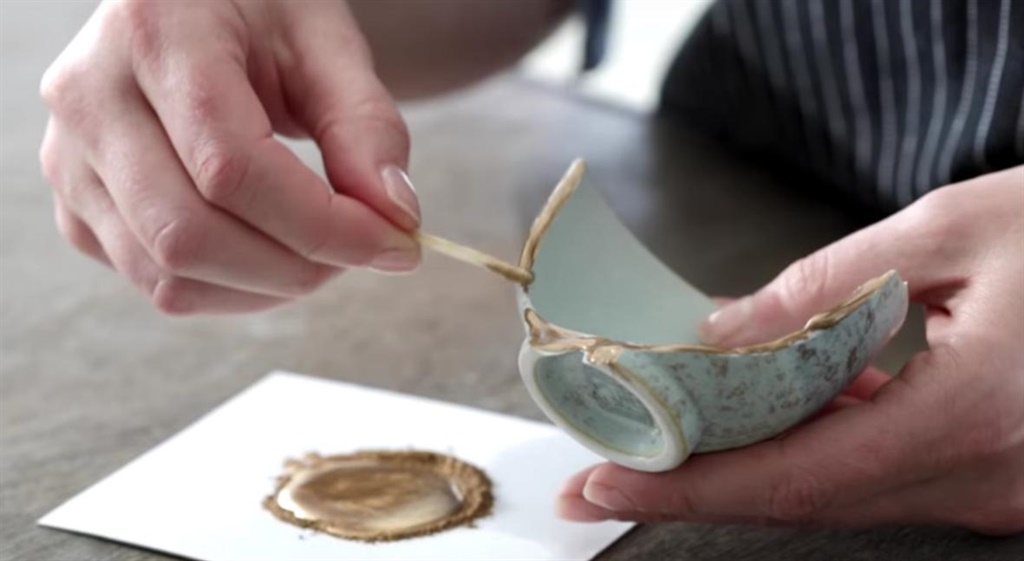
How to Repair Chips and Breaks
If you have a chip or break in your ceramic item, you can still repair it using ceramic adhesive. Here are the steps:
- Clean the area around the chip or break with acetone or rubbing alcohol and a cotton ball.
- Apply a small amount of ceramic adhesive to the chip or break, using a paintbrush.
- Hold the chip or break in place until the adhesive dries, which usually takes about 24 hours.
- If there is a gap between the pieces, fill it with ceramic adhesive and let it dry.
- If necessary, sand the surface with an emery board or sandpaper to smooth it out.
Advantages and Disadvantages of Repairing Ceramics at Home
Advantages
- Saves money by avoiding the need to replace expensive ceramic items
- Allows you to keep sentimental or irreplaceable items
- Provides a sense of satisfaction from fixing something yourself
Disadvantages
- May not be as strong as the original item
- May not look as good as the original item
- Can be time-consuming and require patience
FAQs
Q: Can I use any type of adhesive to repair ceramics?
A: No, you should use a ceramic adhesive specifically designed for repairing ceramics. Other types of adhesive may not be strong enough or may damage the ceramic.
Q: Can I repair a ceramic item that has shattered into many pieces?
A: It depends on how many pieces there are and how small they are. If the pieces are very small, it may be difficult to repair the item. However, if the pieces are larger, you may be able to use ceramic adhesive to put them back together.
Q: How long does it take for ceramic adhesive to dry?
A: It usually takes about 24 hours for ceramic adhesive to dry completely.
Q: Can I paint over a repaired ceramic item?
A: Yes, you can paint over a repaired ceramic item once the adhesive has dried. Use a paint that is designed for ceramics.
Now that you know how to repair ceramics at home, you can save money and keep your favorite items in good condition. Remember to be patient and take your time, and you'll end up with a beautifully repaired ceramic item!