
How to Repair Home AC Line Leak
Detecting an AC Line Leak
The first step in repairing an AC line leak is detecting the source of the leak. Here are some signs that you may have an AC line leak:
- The air blowing from your AC is warm instead of cool.
- You hear hissing or bubbling noises coming from your AC.
- The evaporator coils in your AC unit are frozen.
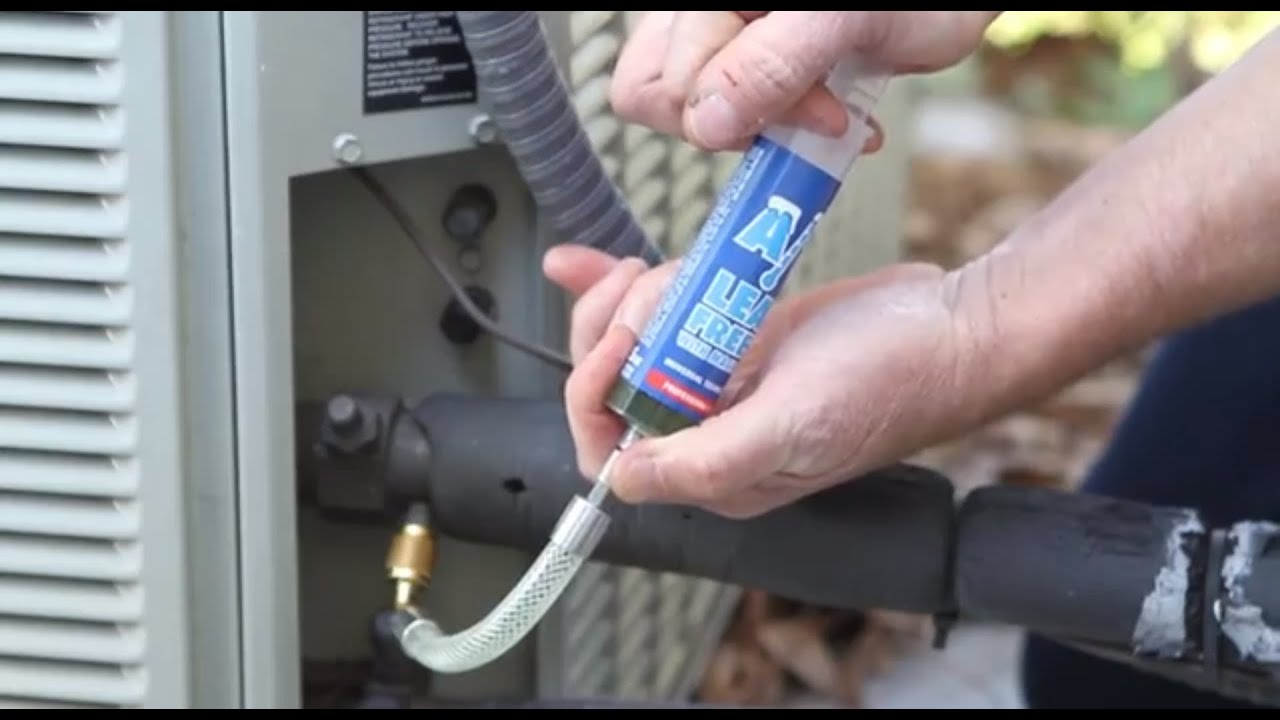
Tools and Materials Needed
Before you start repairing your AC line leak, you’ll need to gather these tools and materials:
- A UV flashlight
- A refrigerant leak detector
- A repair kit with a soldering iron, flux, and aluminum patch
- A refrigerant recharge kit
Repairing an AC Line Leak
Once you’ve detected the source of the leak, here are the steps you can take to repair it:
Step 1: Turn Off Your AC Unit
Before you begin any repairs, make sure to turn off your AC unit to prevent further damage.
Step 2: Locate the Leak
Use a UV flashlight to locate the leak. Shine the light on the AC unit and look for any signs of fluorescent dye, which is often used to detect leaks. You can also use a refrigerant leak detector to pinpoint the exact location of the leak.
Step 3: Clean and Dry the Area
Once you’ve located the leak, clean the area around it with a dry cloth to remove any dirt or debris. Make sure to also dry the area thoroughly.
Step 4: Apply Flux to the Area
Apply flux to the area around the leak. This will help the solder bond to the metal surface.
Step 5: Solder the Leak
Use a soldering iron to heat up the area around the leak. Once the area is hot enough, apply the aluminum patch to the area and solder it in place.
Step 6: Recharge Your AC Unit
Once you’ve repaired the leak, you’ll need to recharge your AC unit with refrigerant. Follow the instructions on the refrigerant recharge kit carefully.
Advantages and Disadvantages of Repairing an AC Line Leak
Here are some advantages and disadvantages of repairing an AC line leak:
Advantages
- Lower repair costs compared to replacing the entire AC unit
- Improved energy efficiency of your AC unit
- Improved indoor air quality
Disadvantages
- Requires some technical knowledge and skills
- May not be a permanent solution if there are other leaks in the system
- May void the warranty of your AC unit
FAQ
Q: Can I use duct tape to repair an AC line leak?
No, duct tape is not an effective solution for repairing an AC line leak. It may temporarily stop the leak, but it will eventually fail and cause more damage to your AC unit.
Q: How often should I check my AC unit for leaks?
You should have your AC unit checked for leaks at least once a year by a professional. However, if you notice any signs of a leak such as warm air blowing from your AC, you should have it checked immediately.
Q: How long does it take to repair an AC line leak?
The time it takes to repair an AC line leak depends on the severity of the leak and the skill level of the person doing the repairs. It can take anywhere from a few hours to a full day.
Q: Can I repair an AC line leak myself?
If you have the necessary tools and skills, you can repair an AC line leak yourself. However, it’s recommended to have a professional do the repairs to ensure that they are done correctly and safely.
Conclusion
Repairing an AC line leak can be a cost-effective solution to keep your home cool during hot weather. However, it’s important to have the necessary tools and skills to do the repairs correctly. If you’re not comfortable doing the repairs yourself, it’s best to hire a professional to do it for you.