
How to Repair Mixer Jar at Home
What You Will Need
Before we get started, here are the tools and materials you will need:
- Screwdriver
- Wrench
- New blades (if necessary)
- New gasket (if necessary)
- Grease
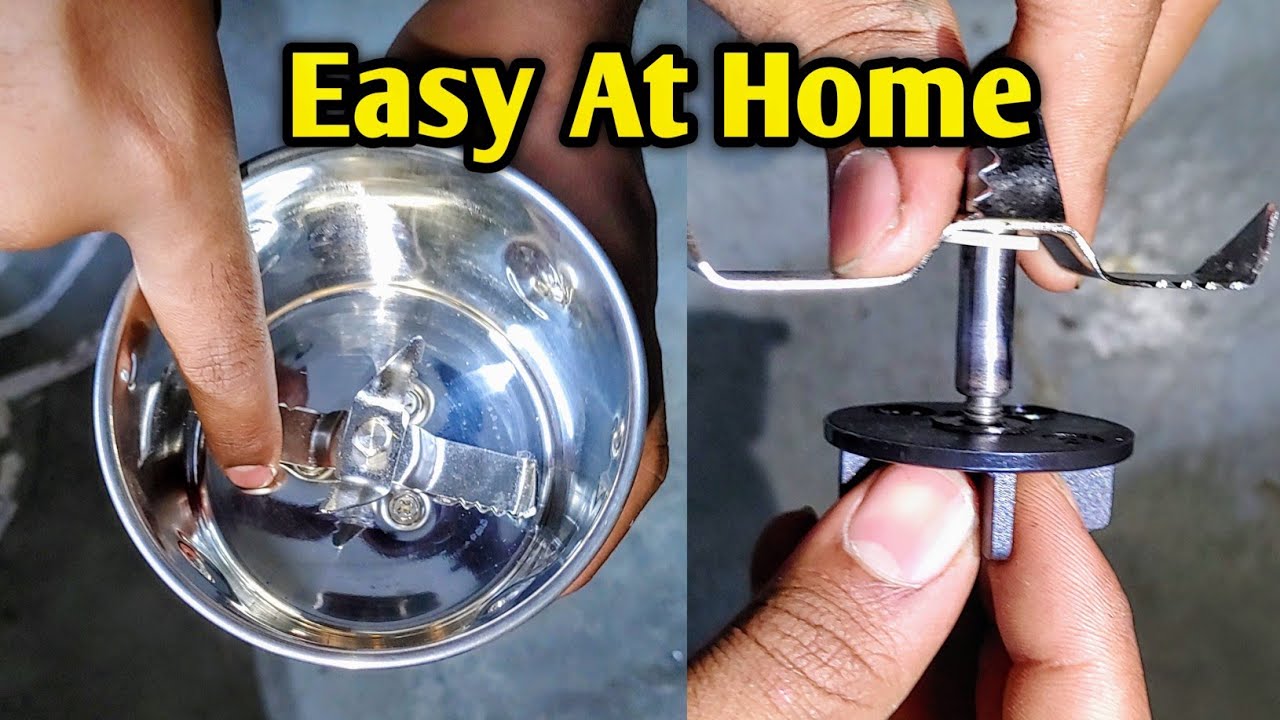
Step 1: Disassemble the Mixer Jar
The first step is to disassemble the mixer jar. This will allow you to inspect the parts and determine which parts need to be repaired or replaced. Use a screwdriver and wrench to remove the blades, gasket, and other components.
Step 2: Inspect the Parts
After disassembling the mixer jar, inspect each part carefully. Look for any cracks, damage, or wear and tear. If you find any damaged parts, replace them with new ones.
Step 3: Replace the Blades
If the blades are dull or damaged, you will need to replace them. Remove the old blades and replace them with new ones. Make sure that the new blades are properly aligned and tightened.
Step 4: Replace the Gasket
If the gasket is damaged or worn out, replace it with a new one. Apply grease on the gasket before installing it to ensure a tight seal.
Step 5: Reassemble the Mixer Jar
Once you have replaced all the necessary parts, reassemble the mixer jar. Make sure that all the components are properly aligned and tightened. Test the mixer jar to ensure that it is working properly.
The Advantages and Disadvantages of Repairing Your Mixer Jar at Home
Advantages:
- You save money by not having to buy a new mixer jar.
- You learn a new skill and gain knowledge about how your mixer jar works.
- You can fix the problem immediately without having to wait for a repair technician.
Disadvantages:
- You may not have the necessary tools or skills to repair your mixer jar.
- You may accidentally damage your mixer jar further if you do not know what you are doing.
- If you make a mistake during the repair process, it may cost more to fix it.
Conclusion
Repairing your mixer jar at home can be a cost-effective and rewarding experience. With the right tools and knowledge, you can easily fix your mixer jar without having to spend a lot of money. However, if you are not confident in your skills, it is best to seek the help of a professional.
FAQs
1. Can I repair my mixer jar if I don't have any experience?
It is possible to repair your mixer jar even if you don't have any experience. However, it is important to do your research and follow the instructions carefully to avoid damaging your mixer jar further.
2. How much does it cost to repair a mixer jar?
The cost of repairing a mixer jar depends on the extent of the damage and the parts that need to be replaced. However, repairing your mixer jar at home is usually more cost-effective than buying a new one.
3. How often should I clean my mixer jar?
You should clean your mixer jar after each use to prevent the buildup of food particles and bacteria. You can clean it by running it under hot water and using a mild soap.
4. How do I know if my mixer jar needs to be repaired?
If your mixer jar is not working properly or is making strange noises, it may need to be repaired. Disassemble the mixer jar and inspect the parts to determine which parts need to be repaired or replaced.