
How to Repair Roof Flashing
Why is Roof Flashing Important?
Roof flashing is important because it prevents water from entering your home through roof penetrations. Without proper flashing, water can seep into your home and cause damage to your roof structure, ceiling, walls, and insulation. Additionally, water can lead to mold growth, which can be hazardous to your health.
Types of Roof Flashing
There are several types of roof flashing, including:
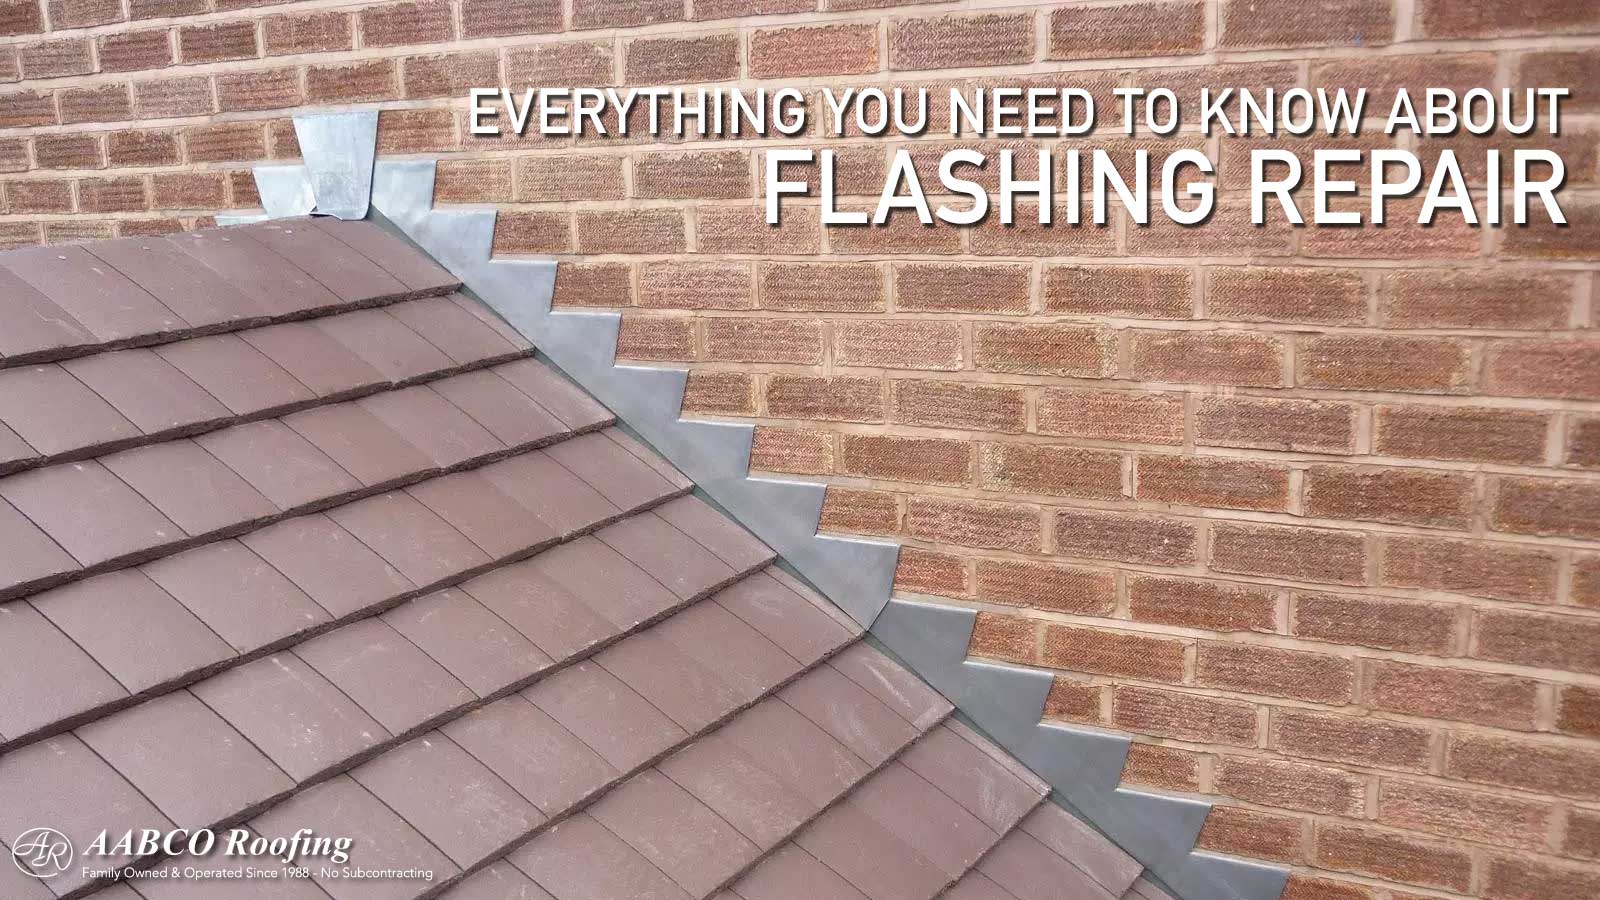
- Step flashing: used to flash roof-to-wall intersections
- Drip edge: used to direct water away from the fascia and into gutters
- Vent pipe flashing: used to flash around vent pipes
- Chimney flashing: used to flash around chimneys
How to Repair Roof Flashing
Step 1: Identify the Problem
The first step in repairing roof flashing is to identify the problem. Look for signs of water damage, such as water stains on the ceiling or walls, or water dripping from the roof. Inspect the flashing around roof penetrations, such as chimneys, skylights, and vents, for signs of damage or deterioration.
Step 2: Gather Materials
Before you begin repairing roof flashing, you will need to gather some materials, including:
- Flashing material
- Tin snips
- Roofing cement
- Caulk gun
- Roofing nails
- Hammer
Step 3: Remove Old Flashing
Once you have identified the problem and gathered the necessary materials, you can begin removing the old flashing. Use tin snips to cut away the old flashing, being careful not to damage the surrounding shingles or roofing material.
Step 4: Install New Flashing
Once the old flashing has been removed, you can install the new flashing. Cut the new flashing to size using tin snips, and then use roofing cement to secure it in place. Use roofing nails to secure the flashing to the roof, and then seal around the edges with caulk.
Step 5: Inspect and Test
After you have installed the new flashing, inspect it carefully to ensure that it is properly installed and sealed. Test the flashing by spraying it with a hose to simulate rainfall. Check for any signs of water leakage, and make sure that the water is properly directed away from the roof and into gutters.
Benefits of Roof Flashing Repair
Repairing roof flashing has several benefits, including:
- Preventing water damage to your home
- Protecting your roof structure from rot and deterioration
- Preventing mold growth
- Extending the life of your roof
Drawbacks of Roof Flashing Repair
While repairing roof flashing has many benefits, there are also some drawbacks to consider, including:
- Cost: Depending on the extent of the damage, repairing roof flashing can be expensive.
- DIY Difficulty: Repairing roof flashing requires a certain level of skill and expertise, and may not be suitable for DIYers.
- Temporary Solution: Repairing roof flashing is often a temporary solution, and may need to be repeated in the future.
Conclusion
Roof flashing is an important component of your roof system that helps to prevent water damage and keep your home safe and dry. Whether you choose to repair your roof flashing yourself or hire a professional, it is important to address any issues as soon as possible to prevent further damage. By following the steps outlined in this article, you can repair your roof flashing and extend the life of your roof.
FAQ
What causes roof flashing to deteriorate?
Roof flashing can deteriorate over time due to exposure to the elements, such as sunlight, wind, and rain. Additionally, flashing can become damaged due to improper installation, poor quality materials, or foot traffic on the roof.
Can I repair roof flashing myself?
Repairing roof flashing requires a certain level of skill and expertise, and may not be suitable for DIYers. If you are not comfortable working on your roof, it is best to hire a professional.
How often should I inspect my roof flashing?
You should inspect your roof flashing at least once a year, preferably in the spring or fall. Additionally, you should inspect your roof flashing after any severe weather events, such as heavy rain or wind.
How much does it cost to repair roof flashing?
The cost to repair roof flashing depends on the extent of the damage and the type of flashing that needs to be replaced. On average, repairing roof flashing can cost anywhere from $200 to $1,000.